


A Practical Guide on How to Fix Car AC Problems
- coledem
- Aug 3, 2025
- 13 min read
When your car's AC starts acting up, the first instinct might be to panic about expensive repairs. But honestly, most of the time, a bit of simple detective work can point you straight to the problem. Things like weak airflow or strange noises are often the first clues, hinting at anything from a simple refrigerant leak to a clogged filter.
Before you even think about picking up a tool, taking a moment to properly diagnose the issue is half the battle won.
Pinpointing Your Car's AC Problem
Your car's air conditioning is a closed-loop system, which means a fault in one part can easily cause symptoms to pop up somewhere else entirely. Getting to know the tell-tale signs of trouble is the key to narrowing down the possibilities and approaching the fix with confidence.
An AC system rarely just dies without any warning. It usually gives you hints that something's not quite right. These symptoms are your best starting point.
Here’s a quick rundown of some common issues I see all the time in the workshop. This table can help you match what you're experiencing with a likely cause.
Common Car AC Problems and Their Symptoms
Symptom | Potential Cause | Typical First Step |
|---|---|---|
Air from vents isn't cold | Low refrigerant, compressor clutch failure, or blend door issue. | Check refrigerant pressure with a gauge. |
Weak airflow from vents | Clogged cabin air filter, failing blower motor, or mould in the evaporator. | Inspect and replace the cabin air filter. |
Musty or mouldy smell | Bacteria or mould buildup on the evaporator core. | Use an anti-bacterial AC treatment spray. |
Rattling or grinding noises | Failing compressor, worn clutch, or debris in the system. | Listen closely to locate the noise source. |
High-pitched squeal | Worn or loose serpentine belt. | Inspect the belt for cracks and proper tension. |
AC cycles on and off rapidly | Low refrigerant, faulty pressure switch, or electrical issue. | Check for leaks and test pressure switches. |
Puddle of water under the car | Normal condensation drainage (good sign!) or a blocked drain tube. | Check the drain tube isn't clogged. |
Hopefully, that gives you a clearer picture. Recognising these signs is crucial because the right fix always depends on the root cause.
The single most common reason for a car AC blowing warm air is a refrigerant leak. Topping it up might get you cool air for a little while, but it’s just a sticking plaster. The only real, long-term solution is to find and fix the leak itself.
If you want to look deeper into the technical side of things, a good HVAC troubleshooting guide can offer some brilliant field-tested techniques.
Of course, preventing problems in the first place is always the best strategy. Staying on top of routine maintenance can save you a lot of hassle down the line. We’ve put together a list of essential tips for car air conditioning care to help you keep your system running smoothly.
Right, before you start thinking about big, expensive repairs, there are a few simple things you can check yourself. More often than not, a car's air conditioning system gives you some pretty obvious clues about what's gone wrong, you just need to know what you’re looking for. These initial checks don't require any fancy tools and are a great, safe place for anyone to start.
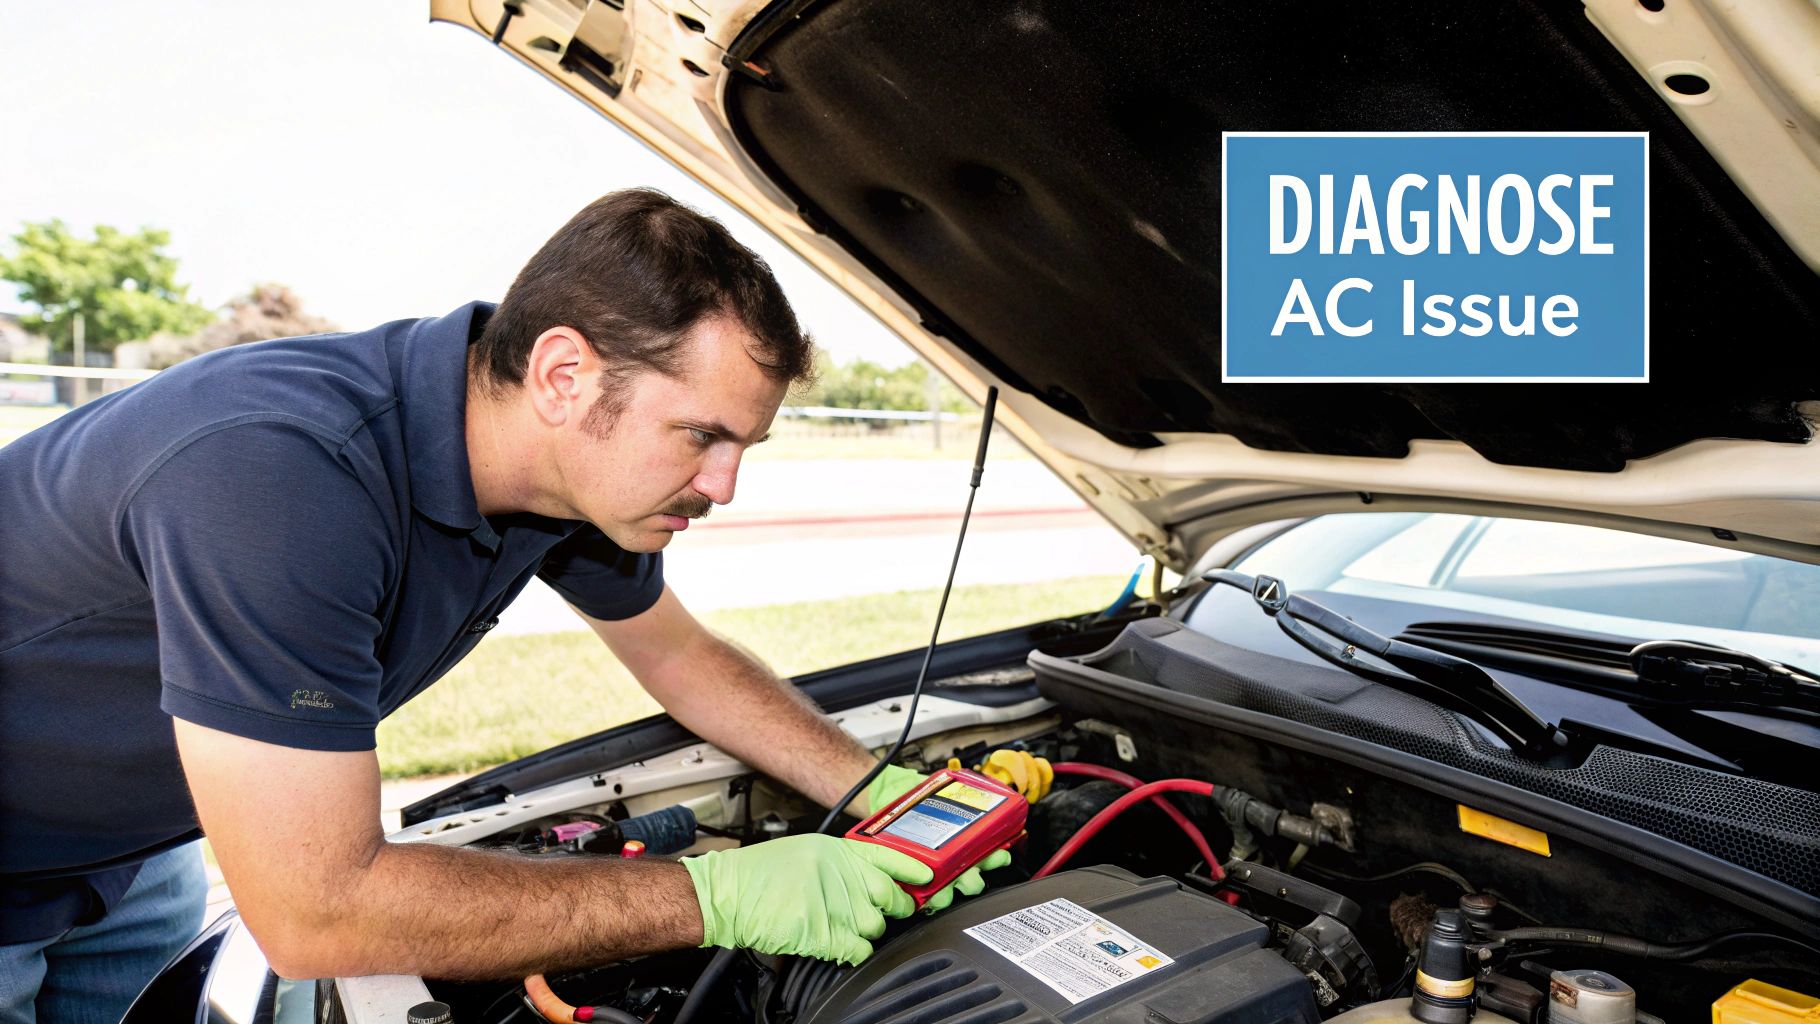
First things first: fire up the engine. Crank the AC to its coldest temperature and turn the fan up to full blast. With the car running, pop the bonnet and just listen for a moment. You’re waiting for a very specific sound – a "click" coming from the engine bay. This click is often followed by a tiny, momentary dip in the engine's revs.
That sound is your AC compressor clutch kicking in. If you stand there for a bit and never hear that click, it's a dead giveaway that the compressor isn't even trying to run. This could be for a few reasons, from low refrigerant levels to a simple blown fuse or some other electrical gremlin.
A Closer Look Under the Bonnet
Now, turn the engine off. It’s time for a proper look at the key components.
Find the condenser. It looks a lot like a smaller version of your car's radiator and is usually mounted right at the very front of the vehicle, just behind the grille. Check its cooling fins for any blockages – things like dead leaves, caked-on mud, or general road gunk.
If the condenser is clogged with grime, it can’t get rid of heat effectively, and that will kill your cooling performance. While you're there, look for any physical damage. Bent fins from stone chips are common and can sometimes be the source of a refrigerant leak.
Next, have a look at the metal AC pipes that snake their way through the engine bay. You’re searching for any oily or greasy residue on the pipes or their connections. The refrigerant itself is an invisible gas, but it has a special oil mixed in to lubricate the system. A greasy patch is a tell-tale sign of a slow leak.
Pro Tip: A dirty cabin air filter is often overlooked. It's designed to clean the air coming into the car, but when it gets clogged, it chokes the airflow from the vents. This can make a perfectly good AC system feel weak or broken.
The Overlooked Cabin Air Filter
Speaking of the cabin air filter, this little part is the cause of so many "broken" AC complaints, but thankfully, it's usually a quick and easy fix. You'll typically find it hiding behind the glove box, and in most cars, you can swap it out in a matter of minutes.
A filter that's choked with dirt and debris doesn't just block air. It can also be the source of nasty, musty smells as it gets damp and becomes a breeding ground for bacteria. Trust me, check this first. If it's dark grey and full of fluff and leaves, a new one is a cheap fix that can make a world of difference.
By running through these simple checks, you can quickly rule out the most common and basic problems. It gives you a much better picture of what's actually wrong before you decide whether to dig deeper yourself or hand the keys over to a professional.
How to Recharge Your Car AC Refrigerant Safely
If your car’s air conditioning is suddenly blowing warm air, chances are you’re low on refrigerant. It’s a really common issue, and grabbing a DIY recharge kit can often be a quick and simple fix. But here’s the thing: you have to do it right. Getting it wrong can lead to poor cooling or, even worse, some seriously expensive damage to your AC system. The two most important tools you'll need for this job are caution and a bit of patience.
First things first: safety. Before you even pop the bonnet, put on some protective eyewear and gloves. The refrigerant is under high pressure and can cause nasty frostbite or eye injuries if it hits your skin. You'll also want to work in a well-ventilated space – think driveway or open garage, never a closed one. Inhaling refrigerant fumes is no joke.
Finding the Low-Pressure Port
Your car's AC system has two service ports: a high-pressure one and a low-pressure one. Your DIY recharge kit is only ever connected to the low-pressure port. I can't stress this enough. Connecting it to the high-pressure side is incredibly dangerous and can make the canister burst.
So, how do you find the right one? Look for a small plastic cap, usually black or blue, marked with a letter "L". You’ll typically find it on the larger of the two metal AC pipes, the one running from a metal cylinder (the accumulator) back to the compressor. It's often located on the passenger side of the engine bay. The good news is the connector on your recharge kit is designed to fit only this specific port, which is a great built-in safety feature.
The Recharging Process
Once you've found the port, the actual process is pretty methodical. The aim is to add the refrigerant slowly, keeping a close eye on the pressure gauge to make sure you don't overfill the system.
Here's how to tackle it:
Get the car ready: Fire up the engine and blast the AC on its maximum cold setting with the fan speed on high. Let it run for a couple of minutes to get the system stabilised.
Hook up the kit: Give the refrigerant can a good shake. Screw the charging hose and gauge assembly firmly onto the canister. Now, find that low-pressure port again, unscrew the cap, and connect the quick-coupler from the hose. You should hear a brief hiss as it seats itself.
Check the starting pressure: With everything connected but before you pull the trigger, take a look at the gauge. This first reading tells you the current pressure in the system. Most gauges have a handy colour-coded dial to help you interpret the reading based on the outside air temperature.
An overcharged system is just as bad as an undercharged one. Too much refrigerant increases pressure on the entire system, which can damage the compressor and other expensive components. Always add refrigerant in short bursts and check the pressure frequently.
This image gives you a good visual for checking your system's pressure levels properly.
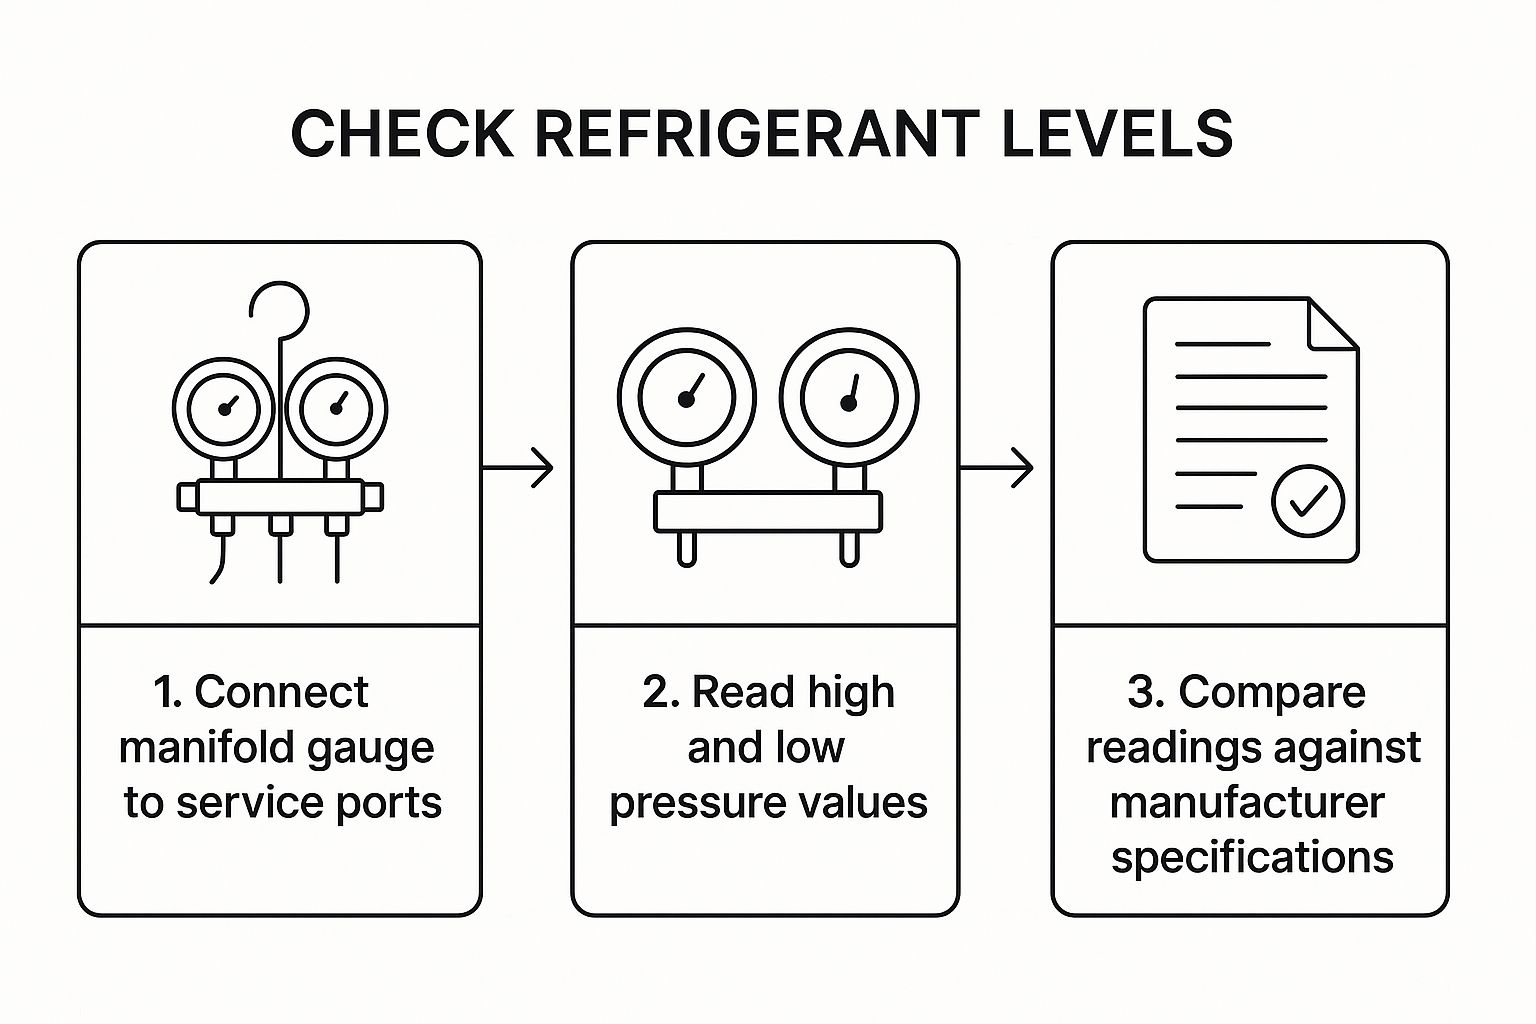
The key takeaway is to compare the live pressure readings to the recommended specifications for the current ambient temperature. This is how you avoid both undercharging and overcharging.
To start adding refrigerant, hold the can upright and squeeze the trigger for about 5-10 seconds at a time. Let go of the trigger and wait around 30 seconds for the pressure to settle before you take another reading. Keep repeating this "squirt and wait" process until the gauge shows the pressure is sitting comfortably in the correct range for the day's temperature.
A simple top-up like this is a fantastic solution if your system has just lost a small amount of refrigerant over several years. But if you find yourself having to do this every few months, you’ve almost certainly got a leak somewhere that needs a proper diagnosis and repair from a professional.
Tackling Common Mechanical and Electrical Faults
So, your air-con system is full of refrigerant, but you're still getting nothing but warm air. When this happens, it's a classic sign that the problem is either mechanical or electrical. These faults can sound intimidating, but often, a few straightforward checks are all it takes to pinpoint the culprit.
With a little confidence, you can diagnose—and sometimes even fix—these issues yourself.
Checking Fuses and Relays
The first and easiest place to look is the fuse box. Pop open your owner's manual to find the fuse for the air conditioning circuit. Pull it out and have a good look. If that thin metal strip inside is broken, the fuse has blown.
Replacing it with a new fuse of the exact same amperage might just bring your AC back to life. It's a simple fix, but a very common one.
A blown fuse can be a symptom of a bigger problem, like a failing component drawing too much current or a short circuit somewhere. If you pop a new fuse in and it blows straight away, you’ll need to dig a bit deeper. You can get a better sense of these kinds of problems in our guide to https://www.krauseautos.co.uk/post/car-electrical-faults-explained-easy-guide-for-every-driver-2025.
Another key part to check is the AC relay, which is an automatic switch that turns the compressor on and off. You can test it with a multimeter, or for a quicker check, try swapping it with an identical relay from a less critical system, like the horn. If your horn stops working but the AC kicks in, you've found your faulty relay.
When to Call in the Pros: Knowing your limits is crucial. The UK automotive repair industry, much like the broader HVAC sector, is currently facing a real shortage of skilled technicians. With the UK HVAC market valued at around £2.15 billion and a projected need for up to 230,000 engineers by 2030, finding a good mechanic at short notice can be tough. This makes trying the simpler DIY fixes a practical first step.
DIY vs Professional Repair Scenarios
Deciding whether to tackle a repair yourself or leave it to a professional can be tricky. This table should help you weigh up your options based on the problem you're facing.
AC Problem | Recommended Action | Reasoning |
|---|---|---|
Blown Fuse | DIY | A very simple and cheap fix. If it blows again, it signals a deeper issue that may require a professional. |
Low Refrigerant | DIY (with caution) | Topping up is straightforward with a kit, but if there's a leak, a professional is needed for proper repair and evacuation. |
Faulty Relay | DIY | Swapping relays to diagnose is easy. A multimeter test is also a simple DIY task for those comfortable with electrics. |
Failing Compressor Clutch | Leans Professional | While possible for a skilled DIYer, this repair often requires specialised tools and can be very fiddly. |
Compressor Failure | Professional | This is a major job that involves recovering refrigerant and replacing a core component of the system. |
Leak Detection & Repair | Professional | Finding and sealing leaks properly requires specialised dyes, sniffing tools, and knowledge of the system. |
If a job requires opening the sealed refrigerant lines or involves complex electrical diagnostics you're not comfortable with, calling a professional is the safest and most effective choice.
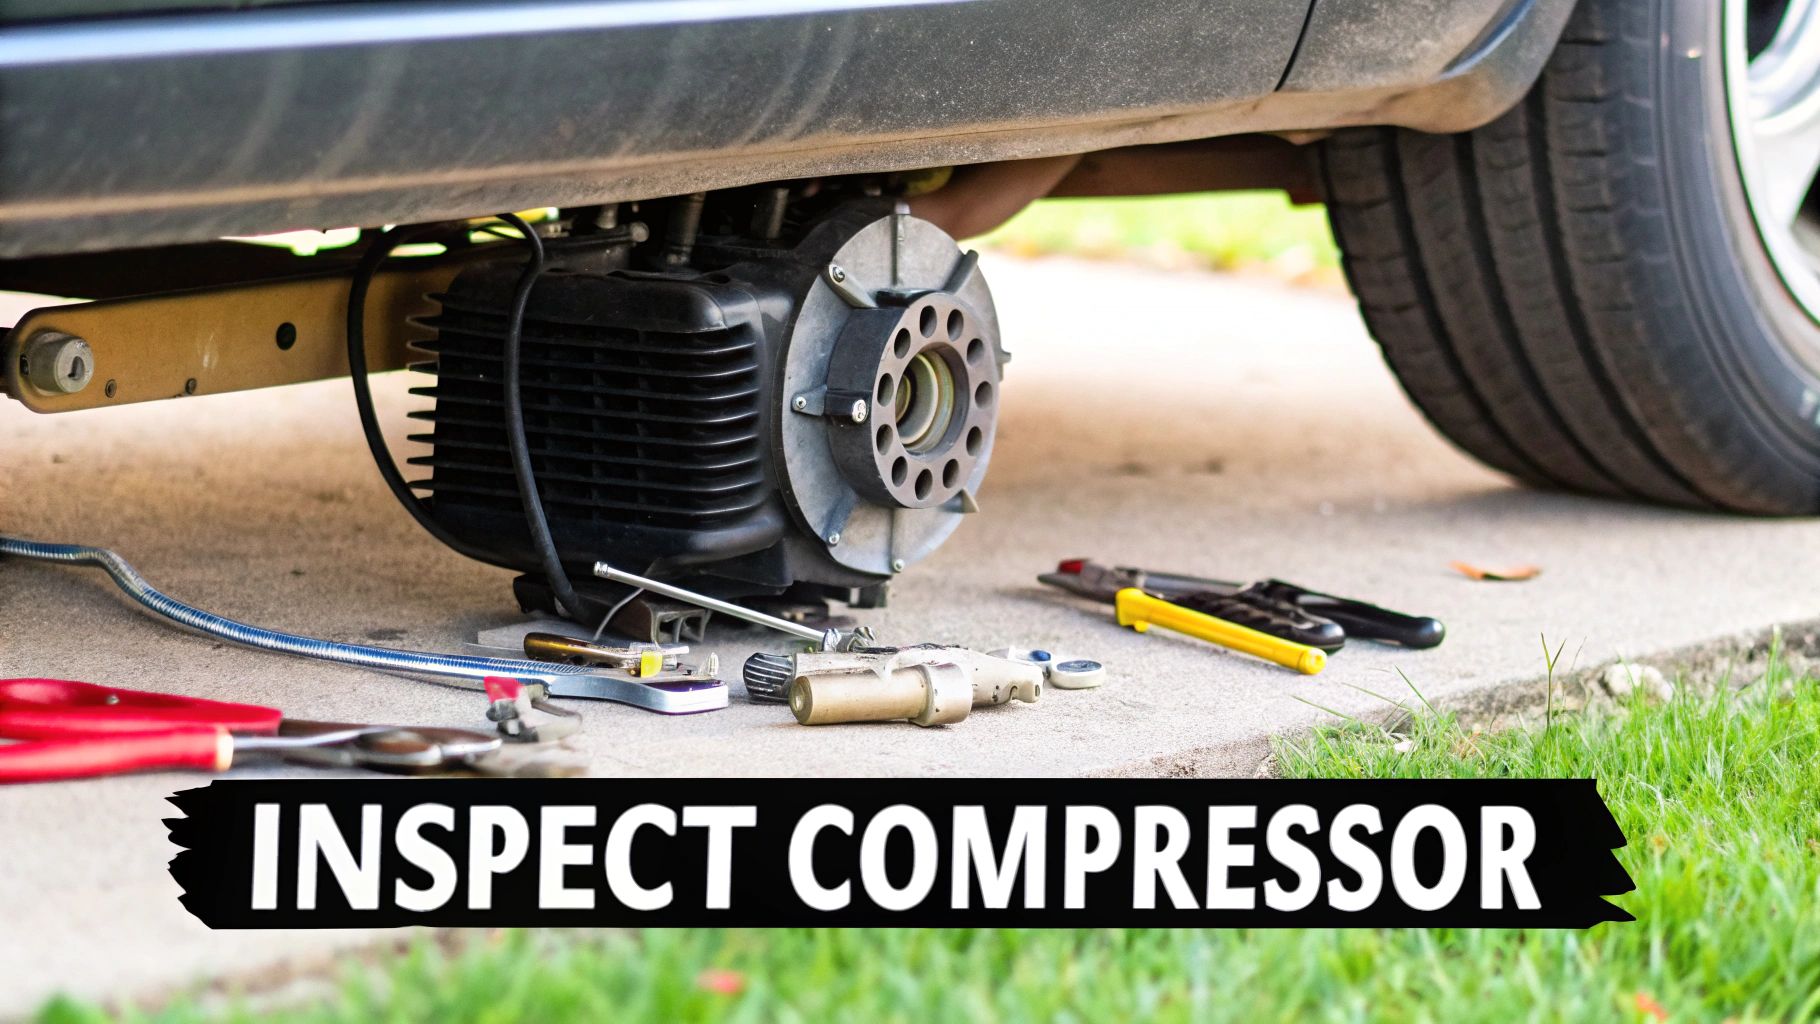
Identifying a Failing Compressor Clutch
The compressor is the heart of your AC system, and its clutch is a common failure point. When you switch the air-con on, you should hear a definite "click" as the clutch engages, making the centre of the pulley spin along with the belt. If you hear the click but nothing happens, or worse, you hear a grinding noise, the clutch is on its way out.
A quick visual check can also tell you a lot. Look for heavy rust or a noticeable gap between the clutch plate and the pulley. While you can replace just the clutch, it's a fiddly job that usually needs special puller tools.
Learning how to fix car AC electrical faults gives you skills that are useful across your vehicle. Understanding circuits and relays, for example, is handy for all sorts of issues. If you've ever had to deal with other weird electrical gremlins, you might find this guide on how to fix car alarm issues helpful, as the diagnostic logic is often quite similar.
Knowing When to Call a Professional Mechanic
Being hands-on with your car is a fantastic skill, but knowing when to step back is just as crucial. This is especially true when you're dealing with something as complex as your air conditioning system. Some problems just aren't suited for a driveway fix and need the touch of a seasoned pro with the right tools and deep knowledge of high-pressure systems.
Frankly, trying to tackle a major AC repair without the proper gear and experience can quickly snowball a small issue into a costly nightmare.
When the Job Is Too Big for DIY
There's a world of difference between replacing a cabin filter and pulling apart core components. If you're facing any of the following symptoms, it’s a clear sign to put down the spanners and call in an expert. These situations often involve handling pressurised refrigerant—which is hazardous without certified recovery equipment—or require stripping down large parts of your car.
Here are a few classic "call a pro" scenarios:
Compressor Replacement: Think of the compressor as the heart of your AC system. Swapping it out is a serious mechanical undertaking. It involves safely recovering all the existing refrigerant, flushing the entire system to get rid of any debris, and then recharging it to the manufacturer's exact specifications.
Evaporator Core Leaks: The evaporator is tucked away deep behind the dashboard. If it springs a leak, the whole dash assembly usually has to come out for the replacement. This is a huge, labour-intensive job with a high risk of damaging fragile interior trim or complex wiring harnesses.
Electrical Control Module Faults: Modern cars rely on sophisticated control modules to run the AC. Pinpointing and fixing faults in these electronic brains requires advanced diagnostic computers and a specialist's understanding of vehicle electrical systems.
Attempting to fix a major component like a compressor without the right equipment can lead to further system damage or, worse, personal injury from mishandling high-pressure refrigerants. It's simply not worth the risk.
Finding a Reputable AC Specialist
When you do need professional help, choosing the right garage is everything. Your best bet is to find a workshop that advertises air conditioning services. This tells you they’ve invested in the dedicated equipment and have technicians trained to handle the job correctly.
Give the garage as much detail as you can when you call. Explain the symptoms clearly—whether it's blowing warm, making odd noises, or giving off a strange smell—and let them know what you’ve already checked yourself. Good information helps them diagnose the problem faster and more accurately.
In the UK, the cost for a professional AC repair can range from a simple re-gas to major component work. For a more detailed look at what to expect, check out our complete guide to UK car AC service costs.
Your Top Car AC Questions, Answered

Even with a good grasp of how car air conditioning works, you probably still have a few specific questions. That’s completely normal. Let’s tackle some of the most common queries we get from drivers, giving you the clear, straightforward answers you need.
How Often Should I Get My Car's AC Serviced?
Think of it like a dental check-up for your car. We recommend having your air conditioning system professionally inspected every one to two years. This isn't just about keeping cool; it's about preventative maintenance.
During a service, a technician will check refrigerant levels, hunt for tiny leaks, and ensure every part is doing its job. Catching a small leak or a clogged filter early on can save you from a much bigger, more expensive headache down the road.
What's Causing That Musty Smell From My Vents?
That damp, mouldy odour you get when you first switch on the AC is a classic sign of bacteria and mould. They love to grow on the evaporator core, which is tucked away behind your dashboard. It gets damp as it cools the air, creating the perfect breeding ground.
You can often sort this out yourself with a special anti-bacterial spray made for car AC systems. You typically spray it into the air intake vents (at the base of your windscreen) while the fan is on high. Don't forget to check your cabin air filter, too—a dirty one can contribute to nasty smells.
Pro Tip: Noticed a small puddle of clear water under your car after running the AC on a hot day? Don't panic. That's just normal condensation draining from the evaporator. It's actually a good sign that your system is dehumidifying the air properly!
Should I Use a Refrigerant With a Built-In Leak Sealer?
Those DIY recharge cans with "leak stop" sound tempting, but you need to be careful. They can sometimes offer a temporary fix for very minor leaks in rubber hoses or O-rings. They're no match for larger leaks or cracks in metal components like the condenser.
The real risk is that the sealant can clog up other parts of the system, like the expansion valve. This can lead to a much more serious and costly repair later. The best course of action is always to find the source of the leak and fix it properly. Deciding whether a car air conditioner is worth fixing in 2025 often depends on what the root cause of the problem is.
Does My AC Use a Different Type of Gas?
It very well might. The type of refrigerant, or "gas," used in cars has changed.
Most vehicles built before 2017 use a refrigerant called R134a.
Newer models use a more environmentally friendly gas known as R1234yf.
These two are not interchangeable. Using the wrong one will cause significant damage to your AC system. Your car will have a sticker under the bonnet that clearly states which type it needs. If you’re ever in doubt, leave it to the professionals to get the correct gas used.
Whether you're facing a simple recharge or a complex diagnostic, the team at Krause Autos is ready to help drivers across Sandy and Bedfordshire. We pride ourselves on honest advice and expert service. Visit us online at https://www.krauseautos.co.uk or give us a call to get booked in.


Comments